Grohe Bathroom Faucet Repair Manual: A Comprehensive Guide
This manual details repair procedures for Grohe faucets, a leading global brand known for innovative water technology.
It covers maintenance, troubleshooting, and parts identification, ensuring lasting performance and satisfaction with your Grohe fixtures.
Understanding Grohe Faucets
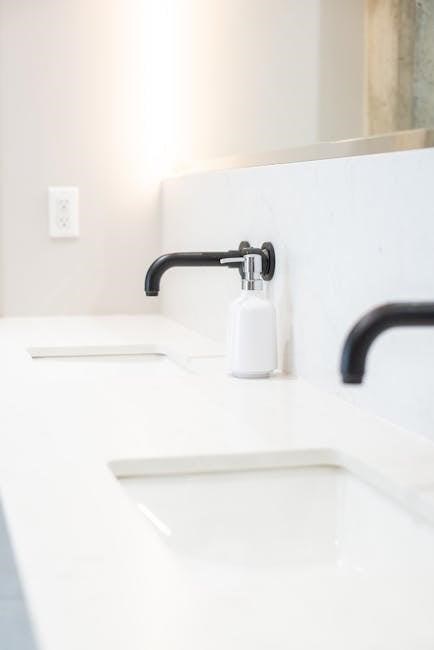
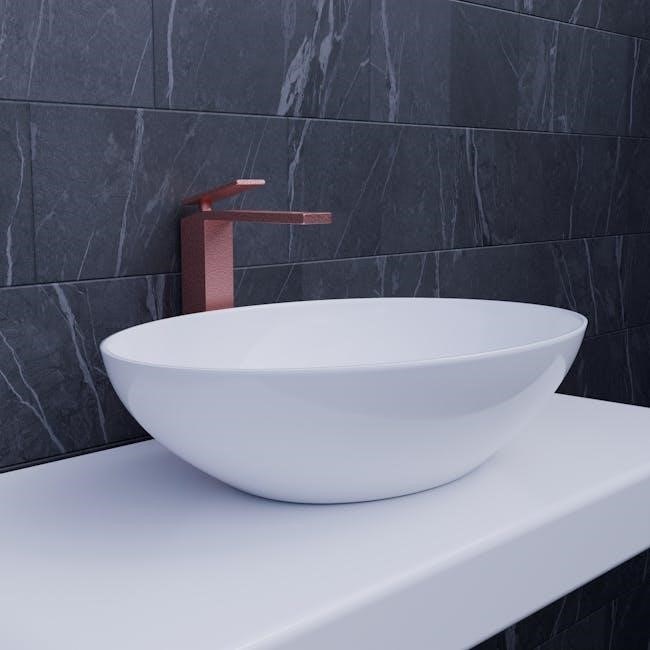
Grohe faucets represent German engineering excellence, renowned for precision, durability, and innovative design. As part of LIXIL since 2014, Grohe consistently delivers high-quality bathroom and kitchen solutions. Understanding the internal components is crucial for effective repair. Grohe utilizes advanced cartridge systems, often ceramic disc technology, to control water flow and temperature, contributing to smooth operation and leak prevention.
These faucets frequently feature specialized aerators to optimize water pressure and reduce consumption. The Ladylux Cafe Pull-Out, for example, showcases this attention to detail. Mineral deposits from tap water can accumulate within the faucet head, impacting performance. Regular descaling, using a vinegar soak, is a key preventative measure. Familiarizing yourself with the distinct packaging – the signature blue box with clear graphics – helps verify authenticity when sourcing replacement parts.
Grohe Brand Overview
Grohe is a globally recognized leader in the sanitaryware industry, originating as one of Germany’s largest manufacturers of plumbing fixtures. For many years, Santehnica.ru has been an official online retailer of Grohe products, guaranteeing authenticity and quality. The brand’s commitment extends beyond faucets, encompassing shower systems, installation solutions, and accessories for both bathrooms and kitchens.
Since becoming part of LIXIL in 2014, Grohe has continued to innovate, particularly with technologies like GROHE Red, delivering boiling water on demand. Grohe products are distinguished by their distinctive blue packaging and detailed, multi-page instruction manuals. Official Grohe retailers, both online (like grohe-russia.shop) and brick-and-mortar stores, provide access to the full product range and expert advice. Grohe consistently focuses on providing complete water solutions.
Grohe’s Position in the Market
Grohe firmly holds a leading position within the global bathroom and kitchen fittings market, distinguished by its dedication to innovative water technology. As a key brand within the LIXIL corporation since 2014, Grohe benefits from extensive research and development resources, allowing it to consistently introduce cutting-edge products like the GROHE Red boiling water system.
The brand differentiates itself through a commitment to quality, design, and durability, reflected in its products’ premium pricing and long-term reliability. Grohe’s strong brand recognition is bolstered by a robust distribution network, including official retailers and online stores like grohe-russia.shop, ensuring widespread availability. Competition exists from other high-end brands, but Grohe maintains a competitive edge through its focus on complete bathroom solutions and consistent innovation, appealing to discerning consumers and professionals alike.
Common Grohe Bathroom Faucet Issues
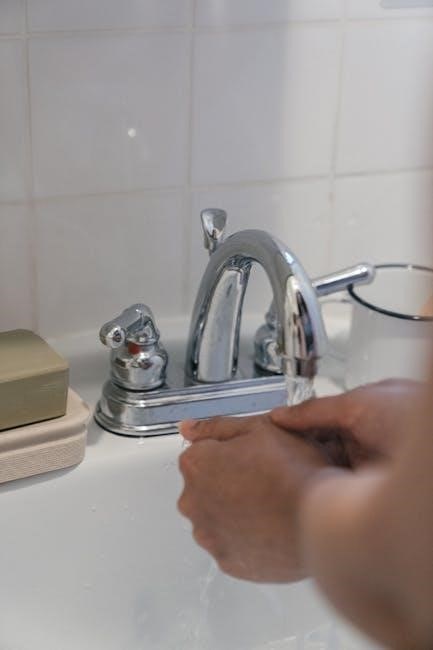
Grohe faucets, while renowned for quality, can experience several common issues over time. Low water pressure is frequently reported, often stemming from mineral deposits obstructing the faucet head or aerator. Dripping faucets are another prevalent problem, typically caused by worn-out cartridges or O-rings;
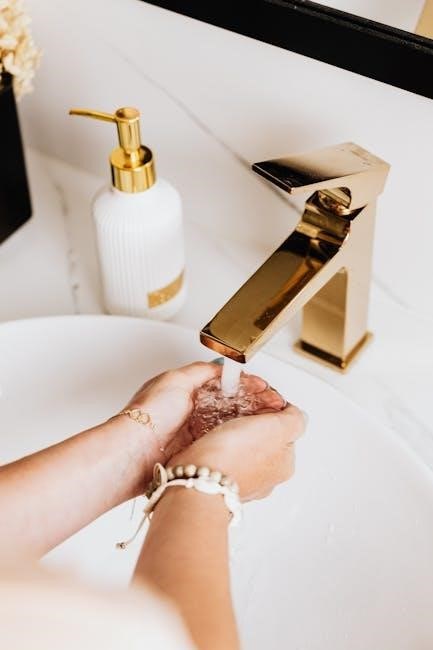
Handle problems, such as stiffness or difficulty turning, can indicate internal wear or corrosion. More complex issues involve cartridge failures, leading to inconsistent water temperature or flow. Mineral buildup from tap water is a significant contributor to many of these problems, particularly in areas with hard water. Regular maintenance, including vinegar soaks to remove deposits, can mitigate these issues. Identifying the specific symptom is crucial for effective troubleshooting and repair, ensuring continued optimal performance of your Grohe faucet.
Low Water Pressure
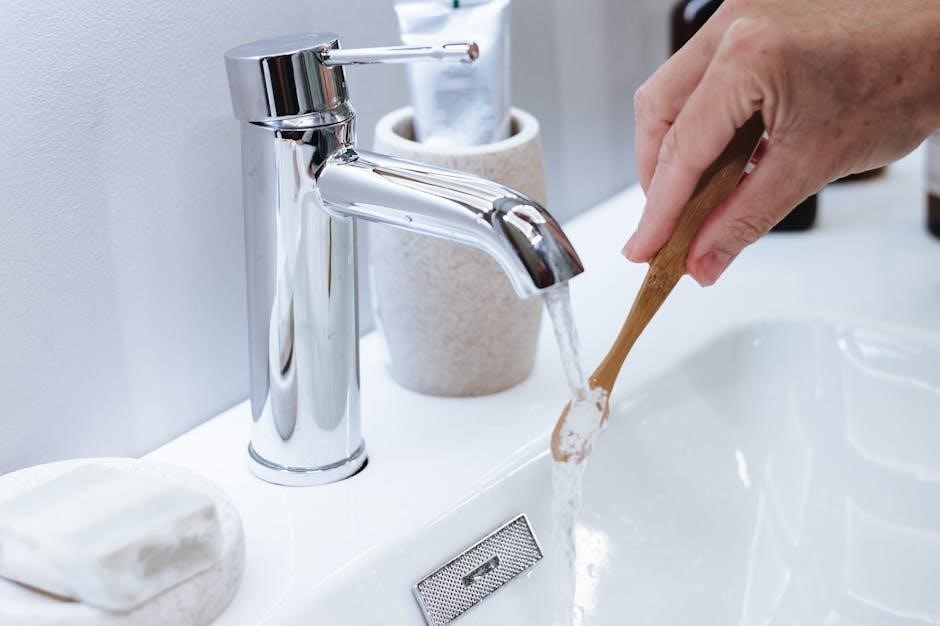
Reduced water flow from your Grohe faucet often points to mineral deposits accumulating within the aerator or faucet head. A simple first step is removing and soaking these components in a 50/50 mixture of hot water and vinegar for a couple of hours. This dissolves common tap water buildup.
If the issue persists, inspect the supply lines for kinks or obstructions. Check the cartridge for debris or wear, as a failing cartridge can restrict water flow. Ensure the shut-off valves under the sink are fully open. In some cases, low water pressure may originate from the main water supply, requiring investigation beyond the faucet itself. Regularly cleaning and descaling your Grohe faucet proactively prevents these issues, maintaining optimal water pressure.
Dripping Faucet
A persistent drip from your Grohe bathroom faucet is frequently caused by a worn or damaged cartridge. Over time, the internal seals within the cartridge degrade, preventing a complete shut-off of water flow. Replacing the cartridge is often the most effective solution. Before replacing, inspect the O-rings and seals for visible damage; these small components are crucial for a watertight seal.
Sediment buildup can also contribute to dripping. Disassembling the faucet and thoroughly cleaning all parts can resolve this. Ensure all components are correctly reassembled, tightening screws appropriately but avoiding over-tightening. If the drip continues after cartridge replacement and cleaning, there might be an issue with the faucet body itself, potentially requiring professional assistance.
Handle Problems
Difficulty turning or a loose handle on your Grohe faucet often indicates issues with the internal mechanisms connecting the handle to the cartridge. A common cause is a worn or corroded handle screw, which may require tightening or replacement. If tightening doesn’t resolve the issue, the cartridge itself could be the culprit, as handle movement is directly linked to its function.
Inspect the handle for cracks or damage, as these can affect grip and operation. Mineral deposits can also impede smooth handle movement; a vinegar soak (50/50 with hot water) can help dissolve these deposits. When disassembling, carefully note the order of components for reassembly. If the handle feels stiff even after cleaning and lubrication, a professional assessment might be necessary to diagnose potential internal damage.
Cartridge Issues
Grohe faucet cartridges control water flow and temperature, and malfunctions are a frequent cause of problems. Symptoms include dripping, inconsistent water temperature, or difficulty adjusting the flow. Cartridge failure often stems from mineral buildup or wear and tear over time. Replacing the cartridge is usually the most effective solution.
Before replacing, identify the correct cartridge for your specific Grohe model – parts vary. Carefully remove the handle and any surrounding trim to access the cartridge. Note the cartridge’s orientation before removal for correct reinstallation. A specialized Grohe tool may be needed for removal, depending on the model. After installing the new cartridge, test the faucet thoroughly to ensure proper function and leak-free operation. Regular maintenance, including flushing the lines, can prolong cartridge life.
Tools Required for Grohe Faucet Repair
Successful Grohe faucet repair demands specific tools, including screwdrivers, adjustable wrenches, pliers, and potentially specialized Grohe tools for cartridge removal and installation.
Essential Tools List
For most Grohe bathroom faucet repairs, a foundational toolkit is crucial. This begins with a set of both Phillips head and flathead screwdrivers, in various sizes, to access internal components. Adjustable wrenches, ranging from 6 to 12 inches, are essential for loosening and tightening nuts and connections without damaging the finish.
Pliers – including slip-joint and needle-nose varieties – provide versatility for gripping and manipulating small parts. A basin wrench is incredibly useful for reaching difficult-to-access nuts under the sink. Don’t forget a utility knife for carefully removing old sealant or gaskets.
Protecting the finish is vital; therefore, consider using a soft cloth or tape around wrench jaws. A small container to hold removed parts prevents loss, and a flashlight or headlamp illuminates dark spaces. Finally, penetrating oil can help loosen stubborn, corroded connections, simplifying the disassembly process.
Specialized Grohe Tools (if needed)
While many Grohe repairs utilize standard tools, certain tasks benefit from specialized equipment. Grohe often employs unique cartridge designs, potentially requiring a specific cartridge puller – available from plumbing supply stores or directly from Grohe retailers. These pullers ensure safe and damage-free cartridge removal, preventing breakage or housing damage.
For faucets with ceramic disc cartridges, a ceramic disc removal tool can be invaluable. These tools gently lift the discs without scratching or chipping the delicate ceramic surfaces. Depending on the faucet model, a Torx bit set might be necessary, as Grohe sometimes uses Torx screws in internal components.
Consider a faucet valve seat wrench if valve seat replacement is needed. Finally, a digital multimeter can be helpful for testing solenoids in electronic faucet models. Always consult the specific repair instructions for your Grohe faucet model to determine if any specialized tools are required.
Step-by-Step Repair Procedures
Detailed instructions guide you through common fixes, including cartridge replacement, addressing drips, resolving low water pressure, and handle repairs – ensuring successful Grohe faucet restoration.
Replacing a Grohe Faucet Cartridge
A worn cartridge is a frequent cause of drips or temperature control issues. Begin by shutting off the water supply to the faucet. Carefully remove the handle, often secured with a small Allen screw, and then the decorative cap.
Next, unscrew the cartridge retaining nut. Gently pull the old cartridge straight up and out – note its orientation for correct reinstallation. Before inserting the new cartridge, inspect the valve body for debris and clean it thoroughly.
Lubricate the new cartridge’s O-rings with silicone grease. Align the cartridge correctly and firmly press it into place. Reinstall the retaining nut, handle, and cap. Finally, slowly turn the water supply back on and test for leaks and proper operation. Proper cartridge replacement restores smooth faucet function.
Fixing a Dripping Grohe Faucet
A dripping Grohe faucet often signals a worn cartridge, O-rings, or valve seat. Start by identifying the faucet type – single-handle or two-handle – as the repair process differs. For single-handle faucets, cartridge replacement is usually the solution, as detailed previously.
For two-handle faucets, inspect and replace the rubber O-rings and valve seats. Shut off the water supply and disassemble the handle and valve stem. Remove the old O-rings and valve seat using a seat wrench.
Install new O-rings, lightly lubricated with silicone grease, and a new valve seat. Reassemble the faucet and test for leaks. If dripping persists after these steps, mineral buildup may be the culprit; a vinegar soak of the faucet head can help dissolve deposits.
Addressing Low Water Pressure
Low water pressure in a Grohe faucet can stem from several causes, including aerator blockage, supply line issues, or cartridge restrictions. Begin by unscrewing the aerator and cleaning it thoroughly, removing any mineral deposits or debris – a vinegar soak is beneficial here.
Next, check the supply lines for kinks or obstructions. Ensure the shut-off valves are fully open. If the problem persists, the cartridge might be partially blocked. Replacing the cartridge, as outlined in the cartridge replacement section, often resolves this issue.
Consider if the low pressure affects all faucets in the house; if so, the problem lies with the main water supply, not the Grohe faucet itself. If only the Grohe faucet is affected, further investigation of the cartridge and supply lines is necessary.
Repairing Grohe Faucet Handles
Grohe faucet handle issues typically involve looseness, difficulty turning, or complete breakage. Often, a simple tightening of the handle screw, located beneath a decorative cap, will resolve minor looseness. If the handle is stiff, carefully remove it and inspect the underlying cartridge for corrosion or debris.
Lubricating the cartridge with a silicone-based grease can restore smooth operation. For broken handles, replacement is usually necessary. Identify the correct handle model for your Grohe faucet – referencing the original packaging or the Grohe website is crucial.
When disassembling, take notes or photos to ensure correct reassembly. Be gentle to avoid damaging the faucet body or internal components. If the handle continues to malfunction after these steps, a professional plumber may be required.
Grohe Faucet Maintenance
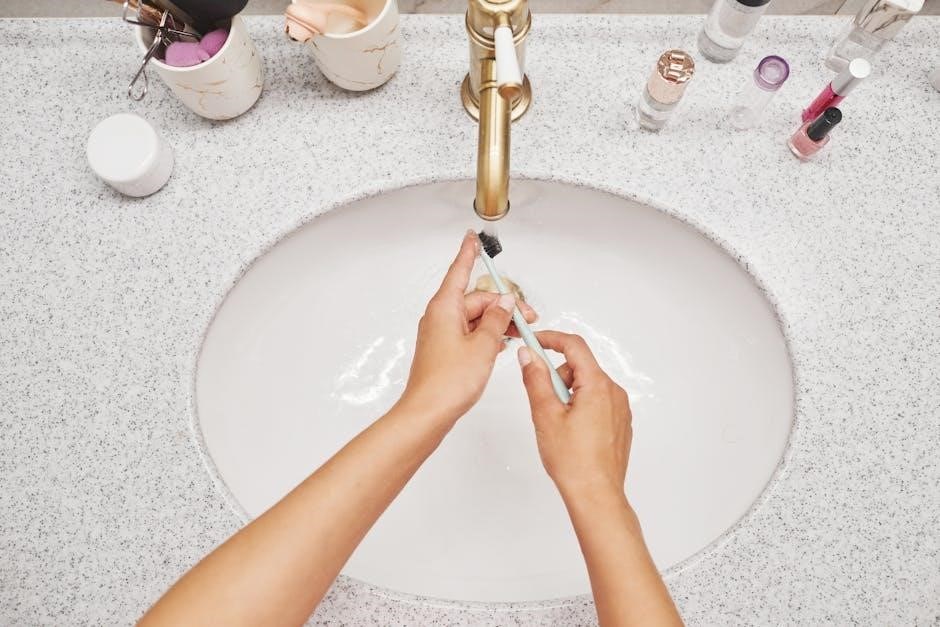
Regular cleaning and descaling are vital for Grohe faucets. A vinegar soak removes mineral deposits, preserving functionality and shine, ensuring long-lasting, optimal performance.
Regular Cleaning Procedures
Maintaining a pristine Grohe faucet is surprisingly simple with consistent care. Daily wiping with a soft, damp cloth removes water spots and prevents buildup. Avoid abrasive cleaners, as they can damage the finish, diminishing the faucet’s luster and protective coating. For tougher grime, a mild dish soap solution works wonders; ensure thorough rinsing afterward to prevent residue.
Pay close attention to the aerator, where mineral deposits frequently accumulate. Unscrew the aerator periodically and soak it in a vinegar solution (equal parts water and white vinegar) for a few hours. This dissolves deposits, restoring optimal water flow. Rinse thoroughly before reattaching. Consistent cleaning not only enhances the aesthetic appeal of your Grohe faucet but also contributes to its longevity and efficient operation, preventing more significant issues down the line.
Descaling Grohe Faucets (Vinegar Soak Method)
Hard water can lead to limescale buildup within your Grohe faucet, reducing water pressure and potentially damaging internal components. The vinegar soak method is a safe and effective descaling solution. Begin by disconnecting the faucet’s supply lines. Then, carefully disassemble the faucet head, removing any visible debris.
Submerge the disassembled parts – particularly the aerator and any spray nozzles – in a 50/50 mixture of white vinegar and hot water. Allow them to soak for at least two hours, or even overnight for stubborn deposits. After soaking, scrub gently with a soft brush to remove loosened scale. Rinse thoroughly with clean water and reassemble the faucet. This process restores optimal flow and extends the life of your Grohe fixture, preventing costly repairs.
Preventative Maintenance Tips
Regular preventative maintenance significantly extends the lifespan of your Grohe bathroom faucet and minimizes the need for extensive repairs. Wipe down the faucet exterior with a soft, damp cloth after each use to prevent water spot buildup and maintain its finish. Avoid abrasive cleaners, as they can scratch the surface.
Periodically check for leaks around the base of the faucet and handles, addressing any issues promptly. Implement the vinegar soak method (described previously) every 6-12 months, depending on water hardness, to prevent limescale accumulation. Consider installing a water softener if you live in an area with particularly hard water. Following these simple steps ensures consistent performance and preserves the quality of your Grohe faucet for years to come.
Grohe Faucet Parts and Where to Find Them
Locating genuine Grohe replacement parts is crucial for maintaining faucet integrity. Official Grohe retailers, online stores, and dedicated plumbing supply websites offer authentic components for your needs.
Identifying Grohe Faucet Parts
Accurate identification of Grohe faucet parts is paramount for successful repairs. Grohe utilizes a diverse range of components, each with specific functions; Common parts include cartridges (controlling water flow and temperature), aerators (mixing air with water for a smoother stream), handles (for operation), and seals/O-rings (preventing leaks).
Disassembling your faucet – carefully noting the order of parts – is a helpful first step. Refer to your faucet’s model number (often found on the faucet body or original packaging) when searching for diagrams or parts lists online. Grohe’s official website and retailer sites frequently provide exploded views illustrating component placement.
Pay close attention to the shape, size, and material of each part. Cartridges, for example, come in various designs. Seals and O-rings are often categorized by diameter and material (e.g., silicone, EPDM). Correctly identifying the part ensures compatibility and a proper fit, avoiding further complications during the repair process.
Official Grohe Retailers and Online Stores
Sourcing genuine Grohe parts from authorized retailers is crucial for quality and warranty validity. In Russia, Santehnica.ru is a long-standing official online store for Grohe products, guaranteeing authenticity and a wide selection. The official GROHE Russia shop (grohe-russia.shop) offers direct access to their full range, including mixers, shower systems, and accessories, with potential benefits like free delivery and discounts.
Additionally, numerous authorized dealers throughout Russia provide both online and in-store purchasing options. Checking Grohe’s official website for a “Find a Dealer” tool can pinpoint nearby retailers. When purchasing online, verify the seller’s credentials and read customer reviews to ensure legitimacy.
Beware of unauthorized sellers offering significantly discounted prices, as these may involve counterfeit or substandard parts. Purchasing from official channels safeguards your investment and ensures compatibility with your Grohe faucet.
Finding Replacement Parts
Locating the correct replacement parts is vital for a successful Grohe faucet repair. Begin by identifying the specific part needed – cartridges, O-rings, handles, or aerators are common replacements. Refer to your faucet’s model number (often found on the faucet itself or original packaging) when searching.
Official Grohe retailers like Santehnica.ru and grohe-russia.shop are excellent sources for genuine parts. Many authorized dealers also stock a range of spares. Online marketplaces can offer options, but prioritize sellers with high ratings and clear return policies.
When unsure, contacting Grohe’s customer support (see warranty section) with your model number can help pinpoint the exact part required. Detailed diagrams and parts lists are often available. Always verify compatibility before purchasing to avoid delays and ensure a proper fit.
Grohe Warranty Information
Grohe provides warranties on its products, protecting against manufacturing defects. Understanding your warranty terms, claim process, and accessing Grohe’s customer support are crucial for resolution.
Understanding Your Grohe Warranty
Grohe warranties vary depending on the product line and region, but generally cover defects in materials and workmanship. It’s essential to locate your original purchase documentation, as the warranty period typically begins on the date of purchase. Carefully review the warranty details, noting any exclusions – such as damage from improper installation, misuse, or lack of maintenance.
The standard Grohe warranty often includes coverage for parts and finishes. However, labor costs associated with repairs may not be included. Some warranties may offer limited lifetime coverage on specific components, like ceramic cartridges. Registering your Grohe product online can streamline the warranty claim process and provide proof of ownership. Keep a record of your warranty information in a safe place for future reference.
Understanding the scope of your warranty empowers you to protect your investment and ensures a smooth experience should any issues arise with your Grohe bathroom faucet.
Warranty Claim Process
Initiating a Grohe warranty claim typically begins with contacting Grohe Customer Support (see contact information elsewhere in this manual). Be prepared to provide your proof of purchase, a detailed description of the issue, and potentially photos or videos documenting the defect. A claim number will likely be assigned to track your request.
Grohe may request that you attempt basic troubleshooting steps or have the faucet inspected by a qualified plumber. If the issue is determined to be covered under warranty, Grohe will typically offer one of the following resolutions: repair of the existing faucet, replacement with a new or refurbished unit, or a refund of the purchase price.
Returning the defective faucet may be required, and Grohe will usually provide instructions and a prepaid shipping label. Retain all documentation related to your claim, including correspondence with Grohe and shipping receipts, throughout the process. Patience is key, as warranty claims can sometimes take several weeks to resolve.
Grohe Customer Support Contact Information
For assistance with your Grohe bathroom faucet, or to initiate a warranty claim, several support channels are available. The official Grohe Russia website (grohe-russia.shop) provides a wealth of information and frequently asked questions. Direct contact can be made via telephone at 8 495 260-99-39. This number connects you to their dedicated support team in Russia.
Globally, Grohe offers support through their international website (www.grohe.com). Here, you can find regional contact details and online support forms. Email support may also be available, though response times can vary. When contacting support, have your faucet model number and date of purchase readily available to expedite the process.
Authorized Grohe retailers (listed elsewhere in this manual) can also provide assistance and may be able to facilitate warranty claims on your behalf. Remember to keep records of all communication with Grohe or its representatives.