Emporia EV Charger Manual: A Comprehensive Guide
This manual provides detailed instructions for installing, operating, and troubleshooting your Emporia EV Charger․ It covers everything from electrical panel preparation to app-based monitoring, ensuring a seamless charging experience․
Welcome to the world of convenient and efficient electric vehicle (EV) charging! The Emporia EV Charger is designed to provide a reliable and smart charging solution for your electric car, seamlessly integrating into your home energy ecosystem․ This charger isn’t just about powering your vehicle; it’s about empowering you with control and insight into your energy usage․
Located conveniently between Kansas City and Wichita, the City of Emporia, Kansas, embodies a spirit of innovation and community – values reflected in the design of this charger․ Whether you’re a long-time EV owner or new to the electric lifestyle, the Emporia EV Charger offers a user-friendly experience, enhanced by the intuitive Emporia app․
This guide will walk you through every step, from initial installation – whether hardwired or plug-in – to daily operation and troubleshooting․ You’ll learn how to adjust the charge rate to match your vehicle’s capabilities and your energy plan, and how to leverage the app for remote control and detailed monitoring․ The Emporia EV Charger is built to meet C22․1 standards and local electrical codes, ensuring safety and compliance․ Prepare to embrace a smarter, greener way to charge!
Understanding the Charger Components
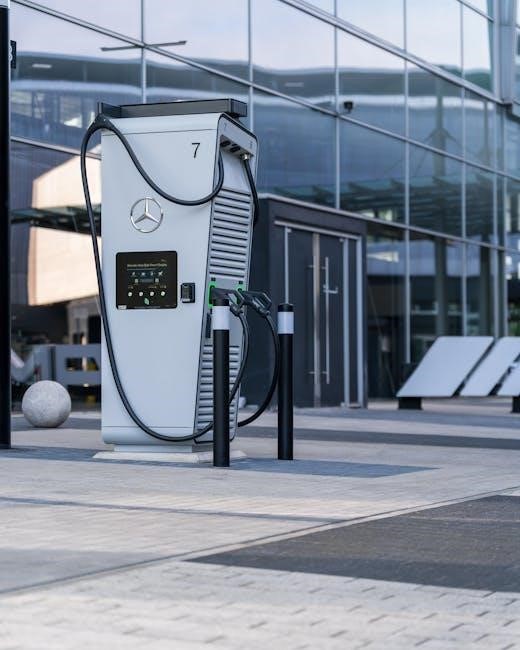
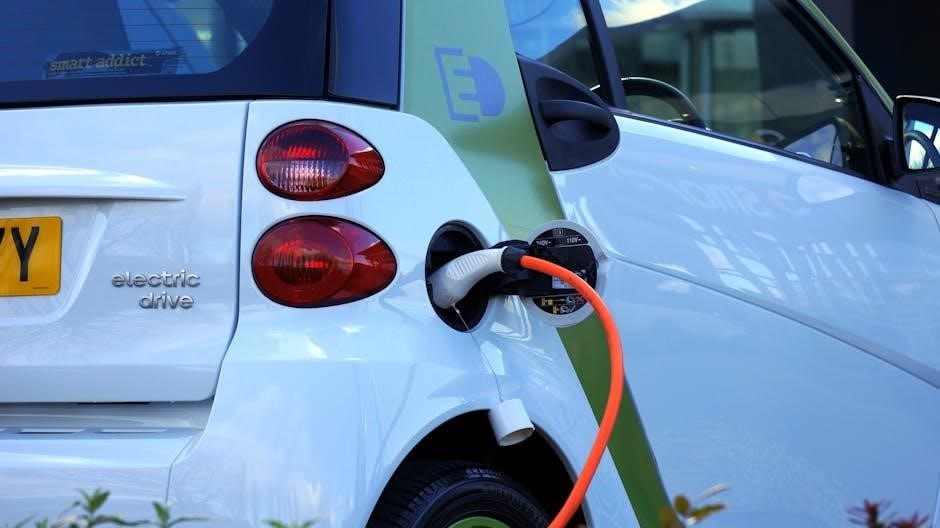
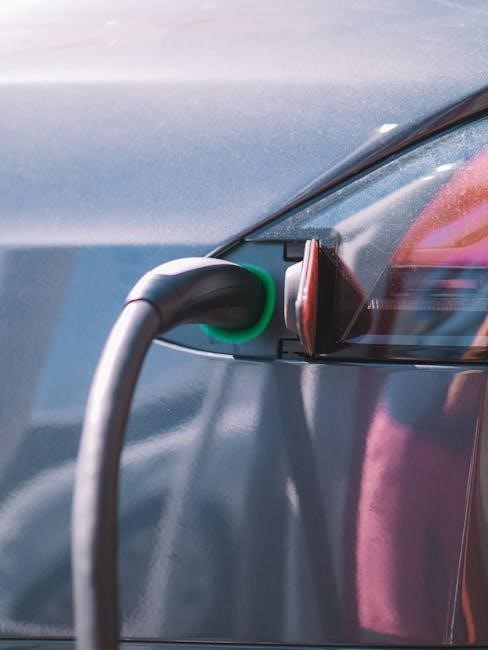
The Emporia EV Charger comprises several key components working in harmony to deliver safe and efficient charging․ The core unit houses the sophisticated electronics responsible for power conversion and communication․ Externally, you’ll find the charging connector – currently available in J1772, with NACS compatibility emerging – facilitating the physical connection to your EV․
A crucial element is the integrated cable, designed for durability and flexibility, allowing for easy maneuvering during charging․ The enclosure provides robust protection against the elements, ensuring reliable operation in various weather conditions․ For hardwired installations, a dedicated access point is provided for the electrical wiring, requiring careful preparation of your electrical panel and adherence to local codes․
Furthermore, the charger features indicator lights displaying charging status and connectivity․ The Emporia app interacts with the charger via Wi-Fi, enabling remote control and monitoring․ Understanding these components – from the breaker size needed to the cable slack allowance – is fundamental to a successful installation and optimal performance․ Remember to unplug and plug-in the charger if needed for troubleshooting․
Installation Guide
Proper installation is critical for safe and efficient operation․ This section details both hardwired and standard plug-in options, emphasizing electrical panel preparation and adherence to all applicable codes and regulations․
Hardwired Installation: Preparing the Electrical Panel
Before commencing the hardwired installation, ensure the main power supply to the electrical panel is completely disconnected․ This is a paramount safety precaution․ Determine the appropriate breaker size required for the Emporia EV Charger, typically based on the charger’s maximum amperage and local electrical codes – consult a qualified electrician if unsure․
A dedicated circuit is strongly recommended to avoid overloading existing circuits․ Install a new, appropriately sized breaker within the electrical panel․ Run a conduit from the panel to the charger’s mounting location, ensuring it complies with local regulations regarding conduit type and installation methods․
Within the conduit, pull the necessary gauge wiring – typically 6 AWG or 8 AWG copper wire, but verify based on amperage and distance․ Leave sufficient slack at both ends (at least 2 feet) for easy connection to both the breaker and the charger․ Double-check all wiring connections within the panel before proceeding, ensuring they are secure and meet code requirements․ Remember to ground the circuit properly for enhanced safety․ Finally, verify the panel has sufficient capacity to handle the additional load․
Hardwired Installation: Wiring the Charger
With the electrical panel prepared and power safely disconnected, proceed to wire the Emporia EV Charger․ Carefully remove the access panel on the charger to expose the wiring terminals․ Identify the line, neutral, and ground terminals – these are typically clearly labeled․
Connect the black (hot/line) wire from the electrical panel to the corresponding line terminal on the charger․ Connect the white (neutral) wire to the neutral terminal․ Finally, connect the bare copper or green ground wire to the ground terminal, ensuring a secure connection․ Tighten all terminal screws firmly, but avoid over-tightening, which could damage the terminals․
Double-check all wiring connections against the wiring diagram provided with the charger․ Ensure no bare wires are exposed․ Carefully tuck the wires into the charger’s enclosure, avoiding any pinching or strain․ Replace the access panel securely․ Before restoring power, visually inspect all connections one last time․ A loose connection can create a safety hazard․
Mounting the Emporia EV Charger
Before permanently mounting the Emporia EV Charger, ensure the chosen location meets all safety requirements and is easily accessible․ The charger should be mounted on a solid wall capable of supporting its weight, plus a safety margin․ Use the provided mounting template to mark the screw hole locations accurately․
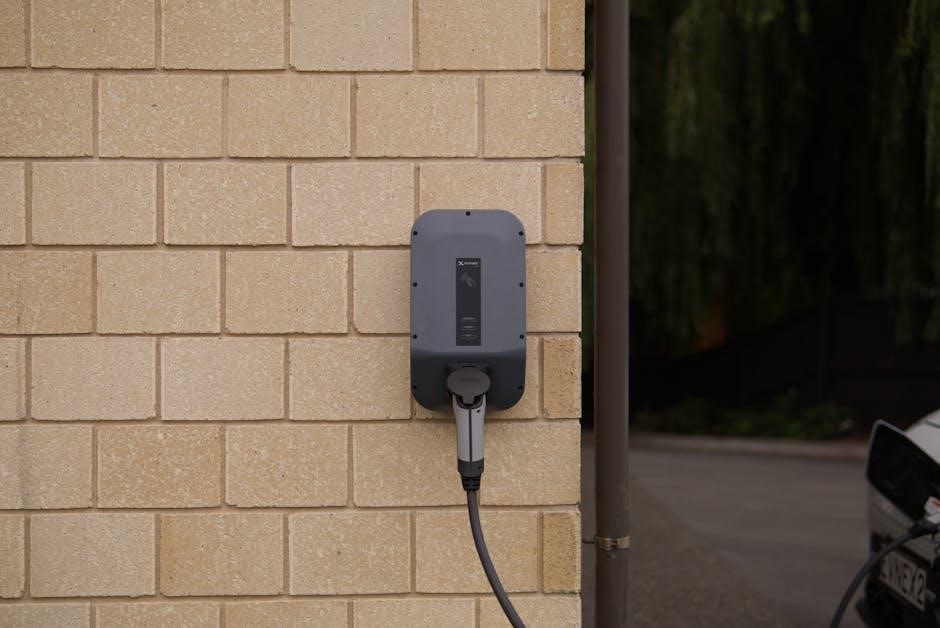
Drill pilot holes at the marked locations, ensuring you use appropriate drill bits for the wall material․ Insert wall anchors if necessary, particularly for drywall or plaster walls․ Align the charger with the pilot holes and secure it using the provided mounting screws․ Tighten the screws firmly, but avoid over-tightening, which could strip the screw holes or damage the charger’s enclosure․
Verify the charger is securely mounted and does not wobble․ Ensure sufficient clearance around the charger for comfortable cable management and access to the charging port․ Allow slack for the 2ft cable as recommended․ Finally, double-check that the mounting does not obstruct any nearby electrical boxes or utilities․
Operational Features
The Emporia EV Charger offers adjustable charge rates via the app, real-time monitoring of charging sessions, and clear indicator lights to display charging status and connectivity․

Adjusting the Charge Rate
The Emporia EV Charger allows for flexible control over the charging speed, enabling you to optimize charging based on your electrical panel capacity and vehicle’s capabilities․ To adjust the charge rate, navigate to the Emporia EV Charger control page within the Emporia app․ Locate the amperage slider bar – it’s visually represented by a blue control․
Simply slide the blue control along the bar to select your desired amperage․ This directly influences the rate at which your electric vehicle receives power․ However, it’s crucial to remember that the maximum achievable charge rate is limited by your vehicle’s onboard charger․
Therefore, even if you set a higher amperage in the app, the car may not accept it․ Always consult your vehicle’s user manual to determine its maximum charging rate․ If the selected amperage isn’t reached, verify your car’s specifications․ The app provides a user-friendly interface for fine-tuning the charging process, ensuring efficient and safe energy delivery to your EV․ Prioritize safety and compatibility when setting your preferred charge rate․
Using the Emporia App for Control and Monitoring
The Emporia app is central to managing your EV charging experience, offering a comprehensive suite of control and monitoring features․ Through the app, you can remotely access your charger’s status, adjust charging parameters, and track energy consumption․ The app’s intuitive interface provides real-time data on charging sessions, including current amperage, voltage, and total energy delivered to your vehicle․
Beyond basic monitoring, the app allows you to schedule charging sessions to coincide with off-peak electricity rates, potentially saving you money․ You can also set charging limits to prevent overcharging or to align with your daily driving needs․ The control page within the app is where you’ll find the amperage slider for adjusting the charge rate, as previously described․
Furthermore, the app provides notifications regarding charging status, errors, or completed sessions․ Regular app updates ensure you have access to the latest features and improvements․ It’s a powerful tool for optimizing your EV charging routine and maximizing convenience․
Understanding Charging Indicators
The Emporia EV Charger utilizes a series of visual indicators to communicate its operational status․ These indicators provide immediate feedback on the charging process, allowing you to quickly assess whether everything is functioning correctly․ A solid blue light typically signifies that the charger is actively delivering power to your vehicle, indicating a successful connection and charging session․
However, different light patterns convey specific information․ A flashing blue light might indicate a communication error or a problem with the charging connection․ A red light generally signals a fault condition, requiring immediate attention and potentially troubleshooting․ It’s crucial to consult the app or the troubleshooting section of this manual to decipher the exact meaning of each indicator․
Additionally, unplugging and plugging the charger back in can sometimes resolve minor connectivity issues, as suggested for certain error states․ Paying attention to these indicators ensures you’re aware of the charger’s status and can address any problems promptly, maintaining a safe and efficient charging experience․
Troubleshooting Common Issues
This section addresses frequent problems like charger power failures, slow charging, and app connectivity issues․ Solutions range from checking breaker settings to restarting the charger and app․
Charger Not Powering On
If your Emporia EV Charger fails to power on, begin with the simplest checks․ First, unplug and plug-in Emporia EV Charger to reset the system – this often resolves minor glitches․ Next, verify the circuit breaker dedicated to the charger hasn’t tripped․ Locate your electrical panel and confirm the breaker is in the ‘on’ position․ If it has tripped, reset it, but if it trips again immediately, there’s likely an electrical fault requiring professional attention․
Double-check all wiring connections, especially in a hardwired installation․ Ensure all wires are securely fastened and there are no loose connections․ Confirm the charger is receiving the correct voltage – consult a qualified electrician for this step․ Also, inspect the charger’s power cord (if applicable) for any visible damage․ A damaged cord must be replaced․
Finally, review the Emporia app to see if any error messages are displayed․ These messages can provide valuable clues about the issue․ If none of these steps resolve the problem, contact Emporia support for further assistance, providing details about the troubleshooting steps you’ve already taken․
Slow Charging Speeds
Experiencing slower-than-expected charging speeds with your Emporia EV Charger? Several factors could be at play․ First, remember the charge rate can be limited by the car’s max charge rate; always consult your vehicle’s user manual to understand its charging capabilities․ Verify the amperage setting within the Emporia app matches your vehicle’s maximum accepted rate and your electrical panel’s capacity․
Ensure the charger isn’t sharing the circuit with other high-demand appliances, as this can reduce available power․ A dedicated circuit is highly recommended․ Check the cable itself – a damaged or low-quality charging cable can significantly impede charging speed․ Try a different, known-good cable to rule this out․
Ambient temperature can also affect charging speeds; extreme temperatures may cause the charger or vehicle to reduce the charging rate․ Finally, confirm there are no error messages displayed in the Emporia app, as these could indicate a problem․ If issues persist, contact Emporia support, detailing your vehicle model, charger settings, and any observed error codes․
Connectivity Problems with the App
If you’re encountering difficulties connecting your Emporia EV Charger to the Emporia app, begin by verifying your home’s Wi-Fi network is functioning correctly․ Ensure your smartphone or tablet is connected to the same 2․4 GHz Wi-Fi network as the charger – the app currently supports only 2․4 GHz networks․ Restart both the charger (unplug and plug-in Emporia EV Charger) and your Wi-Fi router to refresh the connection․
Double-check that you’ve entered the correct Wi-Fi password within the app during the setup process․ If the charger appears offline in the app, try power cycling it again․ Confirm the charger is within range of your Wi-Fi router; excessive distance or obstructions can weaken the signal․
Ensure the Emporia app is updated to the latest version from your app store․ If problems persist, consider temporarily disabling any firewall or security settings on your router that might be blocking the charger’s connection․ Contact Emporia support for further assistance, providing details about your network setup and any error messages displayed․
Safety Information
Always adhere to electrical safety precautions and local codes during installation and operation․ Proper usage guidelines are crucial for preventing damage and ensuring safe, reliable EV charging experiences․
Electrical Safety Precautions
Prioritize safety during all stages of installation and operation․ Disconnect power at the electrical panel before commencing any wiring procedures․ Verify the panel’s capacity meets the charger’s requirements, and always use a dedicated circuit breaker sized appropriately for the amperage․
Ensure all wiring complies with national and local electrical codes – specifically C22․1․ Improper wiring can lead to fire hazards or equipment damage․ Grounding is paramount; a properly grounded system minimizes the risk of electrical shock․
Never attempt repairs yourself; contact a qualified electrician for any maintenance or troubleshooting beyond basic checks․ Inspect the charging cable and connector regularly for damage – do not use if frayed or compromised․ Avoid exposing the charger to water or extreme temperatures․
Always unplug the charger before cleaning or performing any maintenance․ Be mindful of the cable during use to prevent tripping hazards․ If you notice any unusual smells, sounds, or smoke, immediately disconnect power and seek professional assistance․ Remember, electrical safety is non-negotiable․
Proper Usage Guidelines
To ensure optimal performance and longevity of your Emporia EV Charger, adhere to these guidelines․ Always connect the charger to a properly installed and grounded electrical outlet or hardwired connection․ Before initiating a charge, verify the vehicle’s charging port is clean and free of debris․
Utilize the Emporia app to monitor charging status, adjust charge rates, and schedule charging sessions․ Be aware that the vehicle’s maximum charge rate may limit the amperage delivered, even if the charger is set higher․ Regularly check the charging cable and connector for any signs of wear or damage․
Avoid using extension cords or adapters, as they can introduce resistance and potentially overheat․ Do not operate the charger in wet or excessively humid environments․ Unplug and plug-in the charger periodically to ensure a secure connection․
Familiarize yourself with your vehicle’s charging capabilities and limitations as outlined in its user manual․ Proper usage extends the life of both the charger and your electric vehicle, maximizing your investment and ensuring safe operation․