Auto Detailing Guide⁚ A Comprehensive Overview
This guide provides a complete walkthrough of auto detailing, encompassing both exterior and interior cleaning. Learn essential techniques, product selection, and maintenance strategies for achieving a showroom-quality finish. From basic washes to advanced paint correction, we cover it all. Elevate your car’s appearance and longevity with our expert advice.
Exterior Detailing⁚ Preparation and Washing
Begin by gathering your essential tools⁚ a pressure washer (optional but recommended for pre-washing), various microfiber wash mitts or sponges, two wash buckets (one with soap, one for rinsing), a high-quality car wash shampoo, wheel cleaner, and various brushes (for wheels, tires, and crevices). Pre-rinse the vehicle thoroughly to remove loose dirt and debris, preventing scratches during the washing process. This step significantly reduces the amount of abrasive scrubbing required later.
Next, wash the wheels and tires separately using a dedicated wheel cleaner and brush to remove brake dust and grime. Always work from top to bottom to avoid re-contaminating already cleaned areas. Use the two-bucket method to prevent recontamination of your wash solution. Dip your wash mitt into the soapy water, gently wash sections of the car, and rinse the mitt frequently in the clean rinse bucket. Rinse each section thoroughly before moving on to the next. Pay close attention to areas prone to dirt buildup, such as wheel wells, door jambs, and lower panels. This meticulous approach ensures a thorough and scratch-free clean.
Exterior Detailing⁚ Drying and Wheel Cleaning
After washing, efficiently dry the vehicle to prevent water spots. Use high-quality, plush microfiber drying towels, working in overlapping sections to absorb water effectively. Avoid using old towels or those not designed for auto detailing, as these can scratch the paint. Consider using a leaf blower to remove excess water from crevices and hard-to-reach areas before towel drying. This significantly speeds up the drying process and minimizes the risk of water spots. For optimal results, use multiple clean, dry towels to avoid spreading dirt.
Next, focus on meticulous wheel cleaning. Use a dedicated wheel brush and appropriate wheel cleaner to thoroughly clean the wheel faces, barrels, and calipers. Pay particular attention to the areas between the spokes, often overlooked, where brake dust tends to accumulate. For stubborn brake dust, consider using a dedicated iron remover to chemically break down and lift the contaminants before rinsing. Once clean, dry the wheels thoroughly with a separate microfiber towel to prevent water spots and ensure a flawless finish. This dedicated approach maintains wheel cleanliness and preserves the appearance of your vehicle.
Exterior Detailing⁚ Paint Correction and Protection
Paint correction tackles imperfections like scratches, swirl marks, and blemishes, restoring the paint’s shine. This process typically involves polishing and buffing using varying levels of abrasiveness depending on the severity of the imperfections. Start with a less aggressive compound to remove deeper scratches, followed by a finer polish to refine the surface and enhance gloss. Always use a dual-action polisher for controlled application and to prevent burning the clear coat. Proper technique and product selection are crucial to avoid creating new imperfections during the correction process.
Once the paint is corrected, protecting it is essential for long-term preservation. This can be achieved through various methods, including waxing, sealing, or coating. Wax provides a temporary layer of protection that enhances shine but requires more frequent reapplication. Seals offer longer-lasting protection, typically lasting several months. Ceramic coatings provide the most durable protection, often lasting for years and offering superior resistance to environmental contaminants and UV damage. Choose the method best suited to your needs and budget to maintain the corrected paint’s pristine condition.
Interior Detailing⁚ Vacuuming and Dusting
Thorough vacuuming is the foundation of a clean interior. Begin by removing loose debris from carpets, upholstery, and floor mats. Use a crevice tool to reach tight spaces like seams and crevices. Pay close attention to areas prone to accumulating dirt, such as under the seats and around the pedals. A shop-vac offers superior suction for a more efficient cleaning process. Consider using different attachments to tackle various surfaces effectively. For example, a brush attachment can be useful for delicate upholstery while a stiff brush can be better suited for stubborn dirt in the carpet.
Dusting follows vacuuming to remove fine particles. Use a microfiber cloth or detailing brush to gently wipe down surfaces like the dashboard, center console, door panels, and air vents. Microfiber cloths effectively trap dust without spreading it around. Work systematically from top to bottom to prevent re-dusting already cleaned areas. Pay special attention to frequently touched surfaces that tend to accumulate fingerprints and smudges. In addition to a microfiber cloth, consider using compressed air to effectively remove dust from hard-to-reach areas. Using an appropriate detailing brush on delicate surfaces will provide a more thorough clean without causing damage.
Interior Detailing⁚ Cleaning and Conditioning
Once vacuuming and dusting are complete, focus on cleaning and conditioning the interior surfaces. For upholstery, use an appropriate cleaning solution and a soft brush or sponge. Apply the solution sparingly and work in small sections, avoiding oversaturation. Always test any cleaning product on an inconspicuous area first to ensure it doesn’t damage or discolor the fabric. For leather surfaces, use a specialized leather cleaner and conditioner. Leather requires specific care products to maintain its suppleness and prevent cracking. Apply the conditioner evenly and allow it to absorb before buffing to a shine. For vinyl or plastic surfaces, use a dedicated interior cleaner. These surfaces are generally more durable than leather or fabric and can withstand more aggressive cleaning methods.
After cleaning, consider using a protectant spray to repel future stains and spills. Fabric protectants create a barrier that makes cleaning easier. Leather conditioners help to maintain the moisture balance and prevent dryness. Similarly, protectants for vinyl and plastic improve their durability and appearance, protecting them against UV damage and fading. Always follow the manufacturer’s instructions on each product for optimal results. A final step is to thoroughly clean all door jambs, paying close attention to removing any built-up dirt or grime.
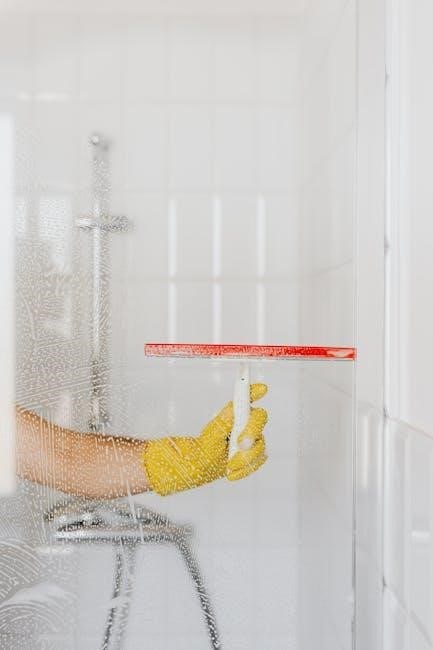
Interior Detailing⁚ Glass Cleaning and Detailing
Clean glass surfaces represent the final touch in interior detailing, significantly enhancing the overall impression of cleanliness. Begin by removing loose debris, dust, and pet hair using a detailing brush or a microfiber cloth. Then, apply a quality glass cleaner to a microfiber cloth, avoiding excessive spraying directly onto the glass to prevent drips and streaks. Work in overlapping sections, wiping with firm, even strokes. For stubborn stains or smudges, consider using a specialized glass cleaning tool designed to reach hard-to-access areas, such as the corners of the windshield.
Pay particular attention to the edges and corners of the glass, as these areas often accumulate more dirt. After cleaning, inspect the glass for any remaining streaks or smudges. If necessary, use a clean, dry microfiber cloth for a final wipe-down. For optimal results, use two separate microfiber cloths⁚ one for applying the cleaner and another for buffing to a streak-free shine. Consider using a glass sealant to repel water and dirt, enhancing the clarity and longevity of your clean glass. This final detail creates a polished and professional finish, leaving your vehicle’s interior looking its best.
Advanced Detailing Techniques
This section explores specialized methods for achieving a truly exceptional finish. We delve into paint correction, protection strategies (waxing, sealing, coating), and engine bay detailing for those seeking the ultimate in automotive aesthetics.
Paint Correction Techniques⁚ Polishing and Buffing
Paint correction, a crucial advanced detailing technique, involves restoring a vehicle’s paint to its original glory by removing imperfections. This process typically uses polishing and buffing methods to eliminate scratches, swirl marks, and other blemishes. Polishing employs fine abrasives to level the paint surface, creating a smooth finish. Buffing then refines this surface, enhancing gloss and clarity. The choice of polish and buffing pad is pivotal; different compounds cater to varying levels of correction. For instance, a coarser compound addresses deeper scratches, while a finer polish imparts a high-gloss shine. The technique necessitates precision and patience to avoid damaging the clear coat. Proper application involves overlapping passes to ensure uniform results. Professional detailers often use dual-action polishers for consistent results and to minimize the risk of burning the paint. Appropriate lighting is vital to assess the correction progress accurately. Multiple stages of polishing might be necessary to achieve optimal results, depending on the extent of paint damage. Remember, a thorough understanding of paint correction techniques is key to restoring your vehicle’s paint to its original brilliance.
Paint Protection⁚ Waxing, Sealing, and Coating
Protecting your vehicle’s freshly corrected paint is paramount. Several options exist, each offering varying levels of protection and longevity. Waxing provides a relatively short-term protective layer, typically lasting a few weeks to a couple of months, enhancing gloss and water beading. Application involves spreading a thin, even layer onto the clean, dry paint surface, followed by buffing to a high shine. Sealing offers more durable protection than wax, often lasting several months. Sealants create a hydrophobic barrier, repelling water and contaminants. Application is similar to waxing, but sealants generally require less frequent reapplication. Ceramic coatings represent the pinnacle of paint protection, providing exceptionally long-lasting protection (often a year or more) against environmental elements and UV damage. These coatings form a hard, durable shell over the paint surface, offering superior resistance to scratches and chemical etching. Professional application is often recommended for ceramic coatings due to their complexity. The choice between wax, sealant, or coating depends on your budget, desired protection level, and the frequency of your vehicle’s use. Regardless of your choice, always ensure the paint is impeccably clean and dry before application for optimal results and longevity of the protection.
Engine Bay Cleaning and Detailing
Cleaning your engine bay might seem daunting, but a methodical approach transforms a grimy space into a gleaming showcase. Begin by protecting sensitive electrical components with plastic bags and tape. Next, use a powerful degreaser, spraying liberally onto all surfaces. Allow the degreaser to dwell for the recommended time, then use a stiff-bristled brush to agitate and loosen stubborn grime. Pay close attention to hard-to-reach areas, ensuring thorough cleaning. For particularly stubborn stains, consider using a detailer’s brush to access intricate nooks and crannies. Once the grime is loosened, thoroughly rinse the engine bay with a pressure washer, carefully avoiding direct sprays on electrical components. Use a low-pressure setting to prevent water damage. Finally, allow the engine bay to air dry completely before reinstalling any removed components. For added protection and shine, consider applying a protective dressing to plastic and rubber components. This will not only enhance the appearance but also help repel future grime. Remember, safety is paramount. Always disconnect the battery before beginning the cleaning process and wear appropriate safety gear, including gloves and eye protection.
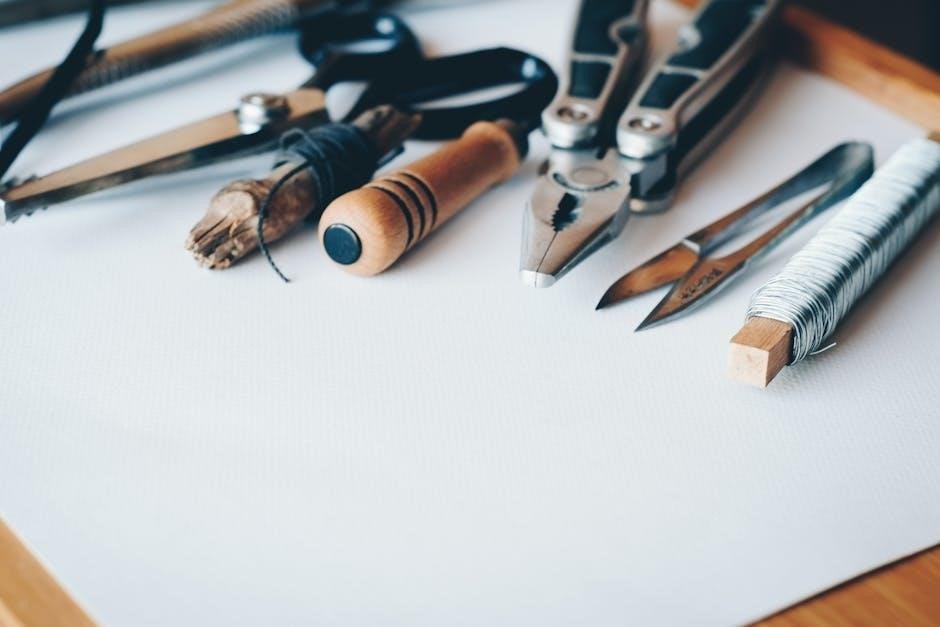
Tools and Products
Selecting the right tools and products is crucial for effective auto detailing. From microfiber towels and wash mitts to specialized brushes and cleaning solutions, the right equipment makes all the difference. Investing in quality tools ensures a professional-level finish and protects your vehicle’s surfaces.
Essential Tools for Auto Detailing
Building a comprehensive auto detailing toolkit requires careful consideration of various tools, each serving a specific purpose in achieving a flawless finish. A selection of high-quality microfiber towels is paramount, ensuring gentle cleaning and streak-free drying. Different sizes and textures cater to various surfaces. A wash mitt, preferably made of plush microfiber, minimizes the risk of scratching delicate paintwork. Dedicated wheel brushes, with their durable bristles, effectively clean intricate wheel designs without damaging sensitive surfaces. A detailing spray bottle allows precise application of cleaning solutions, maximizing efficiency and minimizing waste. Various brushes, including detail brushes for tight crevices and interior brushes for upholstery, are essential for thorough cleaning. A quality vacuum cleaner, preferably with attachments for different surfaces, ensures thorough interior cleaning. Finally, don’t forget a collection of applicators for waxes, sealants, and other protective coatings. These tools, combined with the correct cleaning products, form the foundation of any successful detailing project. Remember to choose tools made from durable, high-quality materials that can withstand repeated use without sacrificing performance.
Choosing the Right Cleaning Products
Selecting the appropriate cleaning products is crucial for achieving optimal results in auto detailing. The choice of car wash soap should prioritize pH-neutral formulas designed to gently clean without stripping away protective waxes or sealants. A dedicated wheel cleaner is essential, formulated to tackle brake dust, grime, and other stubborn contaminants specific to wheels. For interior detailing, choose an all-purpose cleaner suitable for various surfaces, such as dashboards, door panels, and upholstery, while avoiding harsh chemicals that could damage sensitive materials. Glass cleaners should be streak-free and designed for automotive glass, ensuring crystal-clear visibility. Consider using a dedicated tire cleaner for a deep clean and rich, dark finish, avoiding products that could damage the tire’s sidewalls. When it comes to paint protection, a range of options exists, from traditional waxes offering a natural shine to durable sealants that provide long-lasting protection, and advanced ceramic coatings offering superior protection and water beading. Always carefully read product instructions and select products that match your vehicle’s type, finish, and desired level of protection. The right products, combined with the correct techniques, will make all the difference in the final results of your detailing endeavor.
Maintaining Your Detailed Vehicle
Preserving the pristine condition of your detailed vehicle requires consistent effort and the right approach. Regular washing, ideally once a week or more frequently depending on environmental conditions, is key. Use a quick detailer spray between washes to remove light dust and grime, avoiding the need for full washes. Consider a weekly interior cleaning to maintain cleanliness. This can be a simple vacuum and wipe-down or a more thorough cleaning as needed. Protect your vehicle from the elements whenever possible. Park in shaded areas to reduce sun exposure and use a car cover for extended periods of storage. Regularly inspect your vehicle’s paintwork for any signs of damage such as scratches or chips. Address these promptly to prevent further deterioration. Use a sealant or wax periodically to maintain protection, enhancing water beading and preserving the shine. Clean your vehicle’s interior glass regularly using a suitable glass cleaner to ensure clear visibility. Treat leather or vinyl surfaces with appropriate conditioners to maintain their suppleness and longevity. These maintenance practices, combined with careful driving habits, ensure your detailed vehicle’s beauty and value are preserved for years to come. Remember that consistent attention to detail is the key to achieving and maintaining long-lasting results.